Home Studio Standards: What Voice Actors Need to Deliver Broadcast Quality Audio
Unlock secrets to broadcast-quality audio from your home studio. Master acoustic treatment, mic technique & workflow to deliver professional voiceover clients demand on RealVO.
The demand for authentic, human voice talent has never been stronger. Clients these days are searching for a performance delivered with impeccable clarity and professional fidelity as the norm. For today's voice actor, a home studio is no longer a luxury but an absolute necessity, and its output must meet the stringent demands of broadcast quality audio.
Gone are the days when a decent microphone and quiet room were enough. The competitive landscape requires every voice actor to be their own engineer, ensuring that every take is production-ready. This isn't just about sounding good; it's about delivering files that seamlessly integrate into a client's project without additional cleanup or processing. This guide will walk you through the essential home studio standards to help you consistently deliver audio that truly shines.
Acoustic Treatment
Before you even think about microphones, understand that the sound of your room is paramount. A perfectly silent room with poor acoustics will still sound unprofessional. Reflections, echoes, and standing waves can degrade even the most expensive gear's performance. Achieving broadcast quality audio starts with controlling your recording environment.
Absorption: Taming Reverb and Echoes
Hard surfaces bounce sound, creating unwanted reverb. Your goal is to absorb these reflections. Think strategically about where sound hits and bounces back into your microphone. This isn't about deadening the room entirely but creating a controlled, neutral space.
Sound Panels: Invest in acoustic panels made from dense fiberglass or mineral wool. Place them at primary reflection points – often on the walls to the left, right, and behind your microphone, as well as on the ceiling directly above you.
Bass Traps: Corners are notorious for bass build-up. Bass traps are crucial for controlling low-frequency rumble and ensuring a balanced sound.
Soft Furnishings: While not as effective as dedicated acoustic panels, heavy blankets, thick curtains, bookshelves filled with books, and even upholstered furniture can help absorb some sound.
Noise Reduction: Eliminating Unwanted Intruders
Even the quietest suburban home has ambient noise. HVAC systems, outside traffic, buzzing electronics, and even the hum of your computer can ruin a take. Your recording space should ideally register no higher than -60 dBFS RMS (Root Mean Square) for ambient room tone, but ideally lower.
Isolate Your Space: Close doors and windows, and seal any gaps that allow sound to leak in. Heavy blankets over doors can offer a temporary solution.
Silence Your Equipment: Move your computer tower outside your booth if possible, or invest in a silent CPU fan. Unplug any unnecessary electronics that might buzz.
HVAC Management: Turn off air conditioning or heating during takes. Schedule your sessions around quiet times in your home and neighborhood.
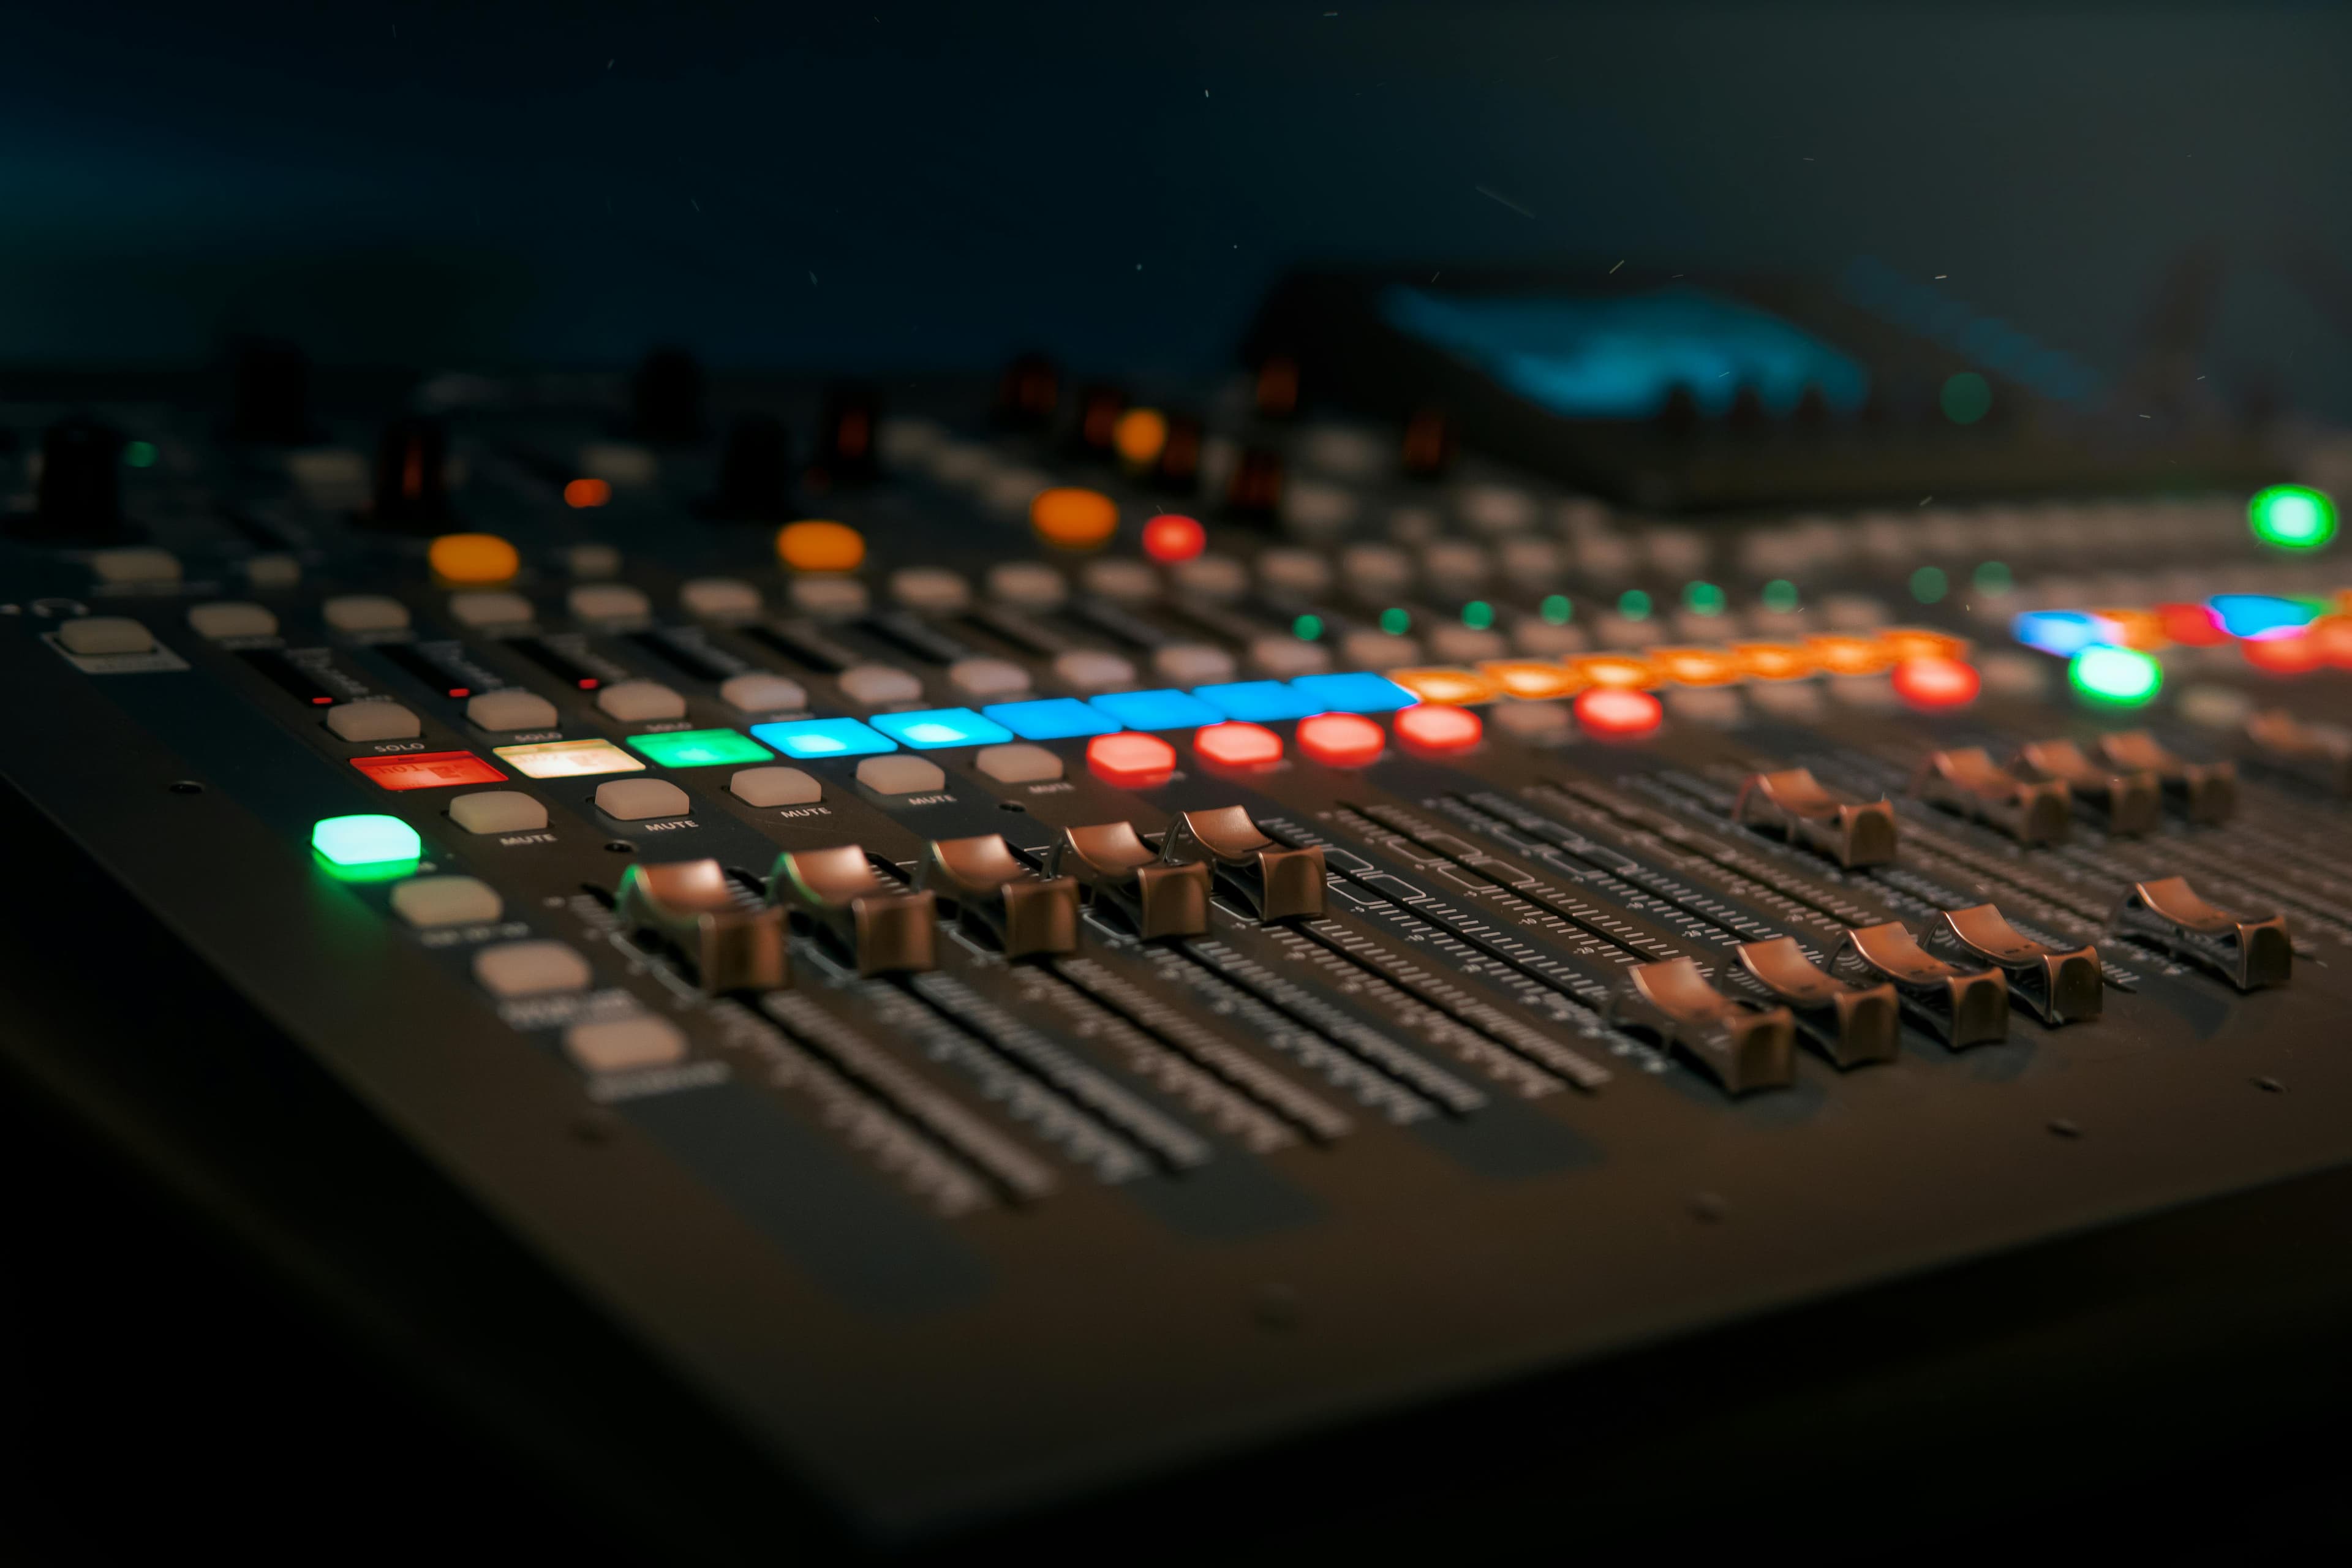
Microphones, Interfaces & Connectivity
Once your room sounds good, it's time to capture your voice with clarity. The microphone and audio interface are your primary tools for translating your performance into an electrical signal. This is where your voice truly begins its journey to becoming professional voiceover material.
Choosing the Right Microphone
While many microphones can deliver professional results, large-diaphragm condenser microphones are the industry standard for most voiceover work due to their sensitivity and broad frequency response.
Condenser Mics: Excellent for capturing detail and nuance. They require phantom power (often supplied by your audio interface). Popular choices include the Neumann TLM 103, Rode NT1, and Audio-Technica AT2035.
Dynamic Mics: Less sensitive, great for noisy environments or aggressive vocal styles. Think Shure SM7B, often used in broadcast radio.
Polar Patterns: Cardioid is most common, picking up sound primarily from the front and rejecting much from the sides and rear.
The Audio Interface: Your Studio's Hub
An audio interface converts your analog microphone signal into a digital signal your computer can understand. It also provides crucial features like microphone preamps, phantom power, and headphone monitoring.
High-Quality Preamps: Ensure your interface has clean, low-noise preamps. This is critical for maintaining a strong signal-to-noise ratio.
Sample Rate & Bit Depth: Aim for a minimum of 48 kHz sample rate and 24-bit depth for recording. This is the industry standard for video and film.
Reliable Drivers: Stable, low-latency drivers are essential for smooth recording and monitoring. Focusrite, Universal Audio, and Audient are trusted brands.
Cables and Accessories
Don't overlook the details. Cheap cables can introduce noise. Invest in quality XLR cables, a sturdy microphone stand (to prevent floor vibrations), and a pop filter (essential for eliminating plosives).
Need a commercial voice for your next project?
RealVOTalent is a marketplace of verified human voice actors. Play demos, compare rates, and hire in minutes.
Featured Commercial Talent
View all →
A vibrant, velvety and evocative voice... with a multitude of characters and accents! I am a British voice over artist who is passionate about providing high quality, perfectly articulated recordings. My voice is extremely versatile, I deliver smooth, engaging narration with a touch of gravitas and also bring a light, conversational and friendly feel to much of my work along with plethora of character voices and accents. With clients around the globe I guarantee efficiency, excellent turnaround times, high quality recording and editing. I trained as an actor at The Bristol Old Vic Theatre school and went on to work in Television, Radio, Theatre and Film for several years. These days I work from my home studio in Sussex as a Voice Over Artist/Actor. I am experienced in Narration, Documentary's, Commercials, Promo, E-learning, Explainers, IVR,Corporate and Character/Audio drama. Purpose built broadcast quality vocal booth, Neumann 103 TLM mic, Scarlett 2i2, Interface and Adobe Audition
Todd has worked many of top Global Brands, including Coca-Cola, L'Oreal Paris, Cisco, Renewal by Anderson, Coast Appliances, Clam Outdoors, UNC Healthcare, Benny and Company, Shoeless Joe's and many, many more. Todd has agency representation in both Vancouver and Montreal and is also available for Non-Union projects. Todd loves what he does and he is always ready and willing to help his clients get exactly what they want and need. Todd records from his Broadcast quality Studio in Victoria, Canada with only the highest quality equipment and can usually provide Broadcast quality recordings in 24 hours.

Looking for a polished, professional British voice that instantly lifts your project? You've come to the right place! Most messages fall flat because the delivery lacks clarity, authority or warmth or the audio just isnt good enough. A strong script deserves a voice that makes people listen. I'm a British voice actor with a warm, trustworthy RP accent and 20 years of international broadcast journalism experience. I provide broadcast-quality audio from my professional UK studio, with a streamlined, no-hassle buying process. Perfect for commercials, corporate narration, explainer videos, eLearning, medical narration, brand films and luxury content. Fast turnaround, precise editing and a smooth, reliable workflow every time. Clients including Visa, DHL, Coca-Cola, SharkNinja, Mitchum, VistaJet and more than 2,000 happy customers trust my voice to bring their stories to life. Want your project to sound credible, confident and compelling? Get in touch!
Monitoring Your Sound
What you hear must be an accurate representation of what you're recording. Monitoring is not about making yourself sound good; it's about hearing every nuance, every flaw, so you can correct it before delivery. This is a critical step for maintaining high voice talent standards.
Closed-Back Studio Headphones
While recording, closed-back headphones are indispensable. They prevent your microphone from picking up the sound coming from your headphones (known as bleed).
Neutral Response: Choose headphones designed for studio monitoring, offering a flat frequency response rather than exaggerated bass or treble. This ensures you hear your voice accurately.
Comfort: You'll be wearing them for hours, so comfort is key.
Isolation: Good passive noise isolation helps you focus purely on your performance. Popular choices include the Beyerdynamic DT 770 Pro and Sony MDR-7506.
Studio Monitors (Optional, but Recommended for Mixing)
While not strictly necessary for recording, a pair of flat-response studio monitors are invaluable for mixing, editing, and final quality checks. Listening back through speakers allows you to hear how your audio will translate to other playback systems.
Software & Workflow: From Raw to Refined
Your digital audio workstation (DAW) is where your performance comes to life. Beyond recording, it's where you edit, clean, and prepare your files for clients. A streamlined workflow ensures efficiency and consistent quality.
Digital Audio Workstations (DAWs)
Many DAWs are suitable for voiceover. Choose one you're comfortable with and that supports your workflow.
Professional Options: Adobe Audition, Pro Tools, Reaper (highly affordable and powerful), Logic Pro (Mac only).
Free Options: Audacity can get you started, but its editing capabilities are more basic.
Essential Editing and Processing (with Caution)
The goal is to deliver clean audio, not heavily processed audio. Most clients prefer to do their own mixing. Your job is to provide pristine raw takes.
Noise Reduction: Use sparingly and only if absolutely necessary to remove subtle room tone. Over-applying can introduce artifacts. A good acoustic space minimizes the need for this.
Normalization: Standard practice to bring your audio to a consistent loudness level, often to -3 dBFS peak.
Silence & Breath Editing: Remove long silences, mouth clicks, and overly loud breaths. Leave natural pauses and breaths unless otherwise specified.
EQ & Compression: Generally, avoid applying heavy EQ or compression unless a client specifically requests it. Your primary focus should be on capturing a clean, natural performance.
File Management and Delivery
Attention to detail here reflects your professionalism.
File Formats: WAV is pretty standard for uncompressed audio. MP3s are typically for auditions or proofs only unless requested specifically by a client.
Naming Conventions: Follow client instructions precisely (e.g., ProjectName_YourName_Take1.wav). If no instructions, use a clear, consistent system.
Backup: Always back up your raw takes and delivered files.
Professional Practices
Beyond the gear, there are crucial elements that contribute to your overall professionalism as human voice talent.
Self-Auditing and Consistency
Regularly listen critically to your own work. Compare it to established professionals. Get feedback from peers. Your goal is consistent quality across every project.
Consistent Mic Technique: Maintain a consistent distance from your microphone and consistent speaking level.
Punch-and-Roll: Master punch-and-roll editing for seamless pickups and corrections, saving you and your client time.
Client Communication: Always clarify delivery specifications. When in doubt, ask!
The RealVO Difference: Connecting with Quality
Delivering broadcast quality audio isn't just about technical skill; it's about respecting the client's time and ensuring your work stands out. On RealVOTalent.com, clients seek out talent who not only possess incredible vocal abilities but also the technical prowess to deliver files that are truly production-ready. We believe in the power of the human voice, expertly recorded and meticulously delivered.
By adhering to these home studio standards, you elevate your craft and position yourself as a top-tier professional in the voice acting industry. When clients search RealVOTalent.com, they're looking for partners who understand the complete picture, from performance to pristine sound. Invest in your studio, refine your skills, and let your authentic, human voice shine through with unparalleled quality.
Ready to showcase your broadcast-quality voice? Join the roster of exceptional human voice talent at RealVOTalent.com and connect with clients who value true professionalism.

Written by
Trevor O'Hare
Founder, RealVOTalent
Trevor is a professional voice actor who has worked in audio for over two decades and been in the voiceover industry since 2019, completing thousands of projects for Fortune 500 companies and small businesses alike. He also coaches voice talent at VOTrainer.com.
Get voiceover industry tips & insights
Join our newsletter. No spam, unsubscribe anytime.


